TIL - 404 Redirect in S3 static blog post
Khanh Nguyen • June 20, 2019
tilToday I received a comment from my friends telling me that my blog doesn't redirect to 404. Oops... I should have been set it from the beginning instead of making my blog showing something like this:
403 Forbidden
Code: AccessDenied
Message: Access Denied
RequestId: 5F9506201FD3BF09
HostId: DlHKCh+6eIyX1OILlLEt2FVz2BMgn3luo6lNcx6xxMr3F0wntH5jDqHQ78Q77i1JWcoEN9xb//c=
We should have been let user see something much more friendly instead of something frank, coldhearted like the error above. Below is the steps I have done to make it works.
- Create a 404 folder and its content (the friendlier things I want my user to see)
- Settings S3 error pages in AWS console
- Invalidate cloudfront cache (in case you are using Cloudfront as your CDN)
1. Create a 404 folder
I've used Jigsaw as my blog cms, so things is super easy. I just have to create a 404.blade.php and put it in my root directory. When I do compile the code for deploy, 404.html file will be generated.
@extends('_layouts.master')
@section('body')
<div class="flex flex-col items-center text-grey-darker mt-32">
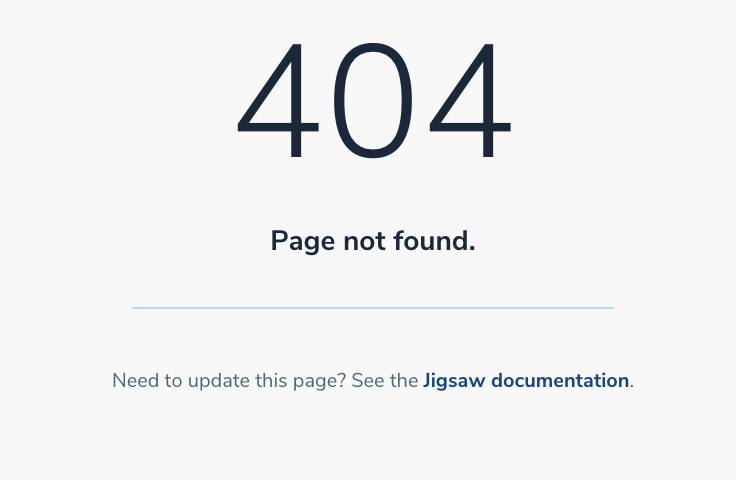
<h1 class="text-6xl font-light leading-none mb-2">404</h1>
<h2 class="text-3xl">Page not found.</h2>
<hr class="block w-full max-w-sm mx-auto border my-8">
<p class="text-xl">
Need to update this page? See the <a title="404 Page Documentation" href="https://jigsaw.tighten.co/docs/custom-404-page/">Jigsaw documentation</a>.
</p>
</div>
@endsectionNow, things is pretty better like this
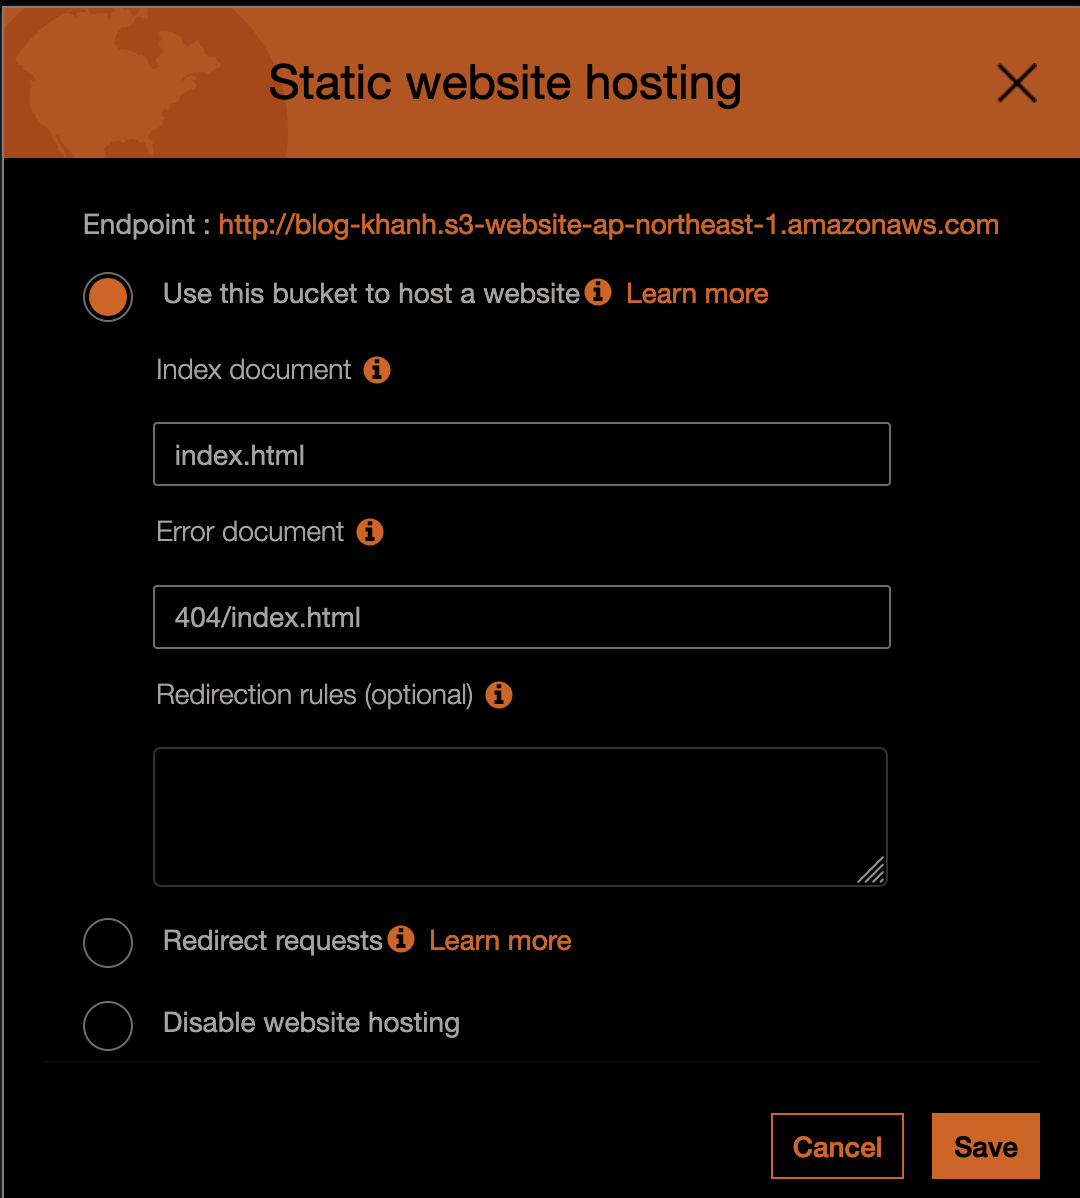
2. Settings S3 error pages in AWS Console
S3 console provide a way to set your error pages (whenever some key is not found or permission forbidden) You can set the error pages as below (the path will be based on the bucket root directory )
If you don't use any CDN, you can skip step 3, everything now should work fine. If you use CDN, you need to clear the cache (or request invalidation as in AWS )
3. Create invalidation request
You can use AWS Console to create invalition request ( a cache clear request - all of the cache will be updated to the newest contents from origin - so this is an expensive step, please use it considerably).
I use aws command line to create invalidation, you can use my command or console to create invalidation.
aws cloudfront create-invalidation --distribution-id <distribution_id> --paths "/*" --profile <profile_id>After that, you can confirm whether your changes have been updated and delegated to all edge locations (Please wait about 4,5 minutes for changes completely reflected all edge locations.)